Toe Up To Toe Up Drill
Although it is much quicker to create new movement patterns without the distraction of hitting a ball and swinging
a club, at some point you must begin transitioning to the real world and this is an extremely effective drill to guide
you to a correct impact position.
When done correctly with 8 iron swings and the ball teed up on a short tee, a correctly executed impact strike with a horizontal
hinging action (waxing the hood)
will produce a low, powerful flight. For a more normal trajectory and a powerful flight, practice this drill with
an angled hinging action.
This drill is also very effective when done with a driver and teed up balls.
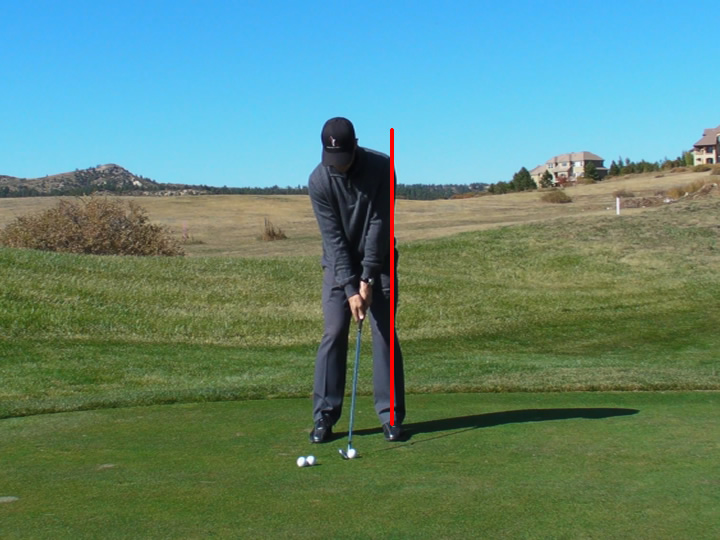
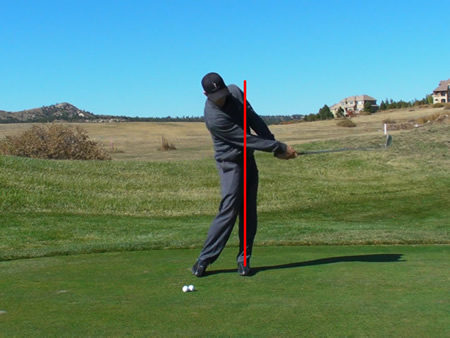
At address, note the red line that is drawn up from the center of the ankle.
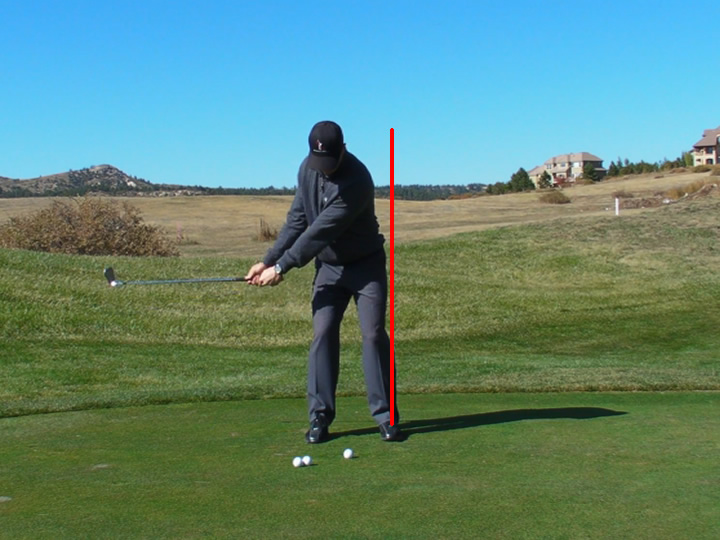
As you approach the "9 o'clock" position - it's actually just short of a pure "9 o'clock" position - you can
note that the hips have
rotated slightly away from the target and the body has turned away.
My preference for the body position at this point in the swing would be for the weight to be pressuring into the
left leg vs. transferring to the rear side. This is a "traditional" vs. "modern" swing method variation, and for
what it's worth Tiger's
new swing has his weight centered then moving forward, not shifting back as shown in the above photo.
The shaft of the club is parallel or
slightly above parallel to the ground, and the toe of the club is slightly short of pointing straight up. The
clubface is actually parallel to the forward inclination angle of the upper body. The toe of the
club should get to the correct position without any manipulation of the hands if you have turned back with your
shoulders, not your arms. For some players it's preferable for the clubface to be slightly
shut so that it's parallel with you forward torso inclination. For more of my students, I like to see the toe pointing
straight up. Either way, your shaft should be parallel to the ground and
slightly inside
of parallel to the aimline to allow for a slight inside attack angle to the ball. .
PLEASE NOTE that I sometimes teach this drill a little differently than this photo shows.
I often have the student set up with
their weight set up 70% on the forward side, and a lateral weight shift forward triggers
the downswing and places more downward pressure on the flat front foot prior to impact.
Takeaway checkpoints are:
- Turning the club back with a body turn, weight staying forward
- Your arms are still in front of your body, and your hands are inside of the aimline pulled
slightly around your body, not pushed straight back along your aimline
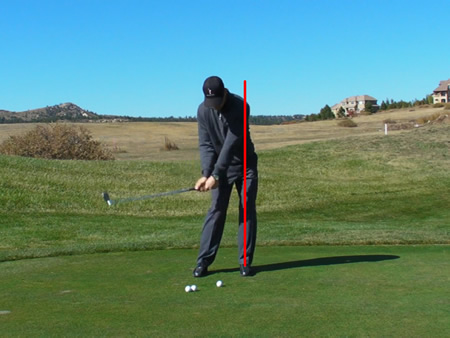
Forward swing checkpoints are:
- Execution of a slight lateral weight shift forward starts the downswing.
- As your forward swing is started with a slight lateral weight shift, the weight shift
combined with natural body rotation,
pulls your hands down into impact.
- Your swing centers cover the ball at impact, your head feels like it is staying back, not sliding forward at impact.

At impact, the shoulder, elbow, wrist, hip, ankle and knee on the left side align into neutral;
the head has not
slid laterally forward
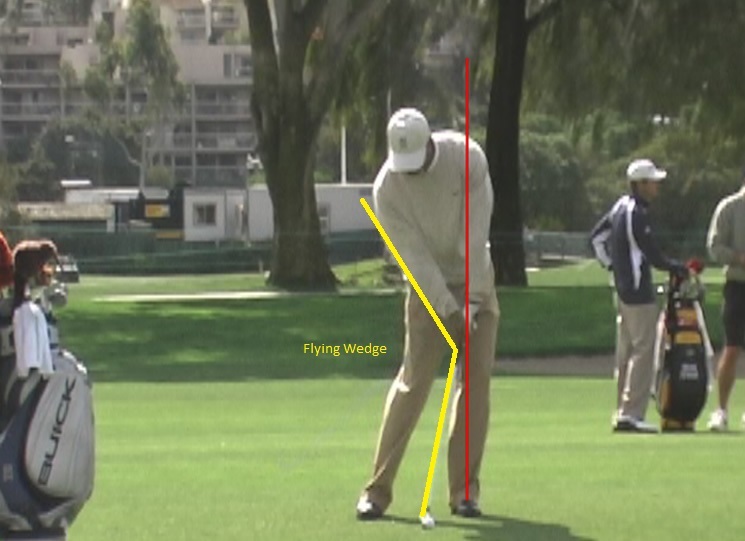
Note Tiger's straight left
wrist
and "flying wedge" right wrist at impact, which produces good forward shaft lean.
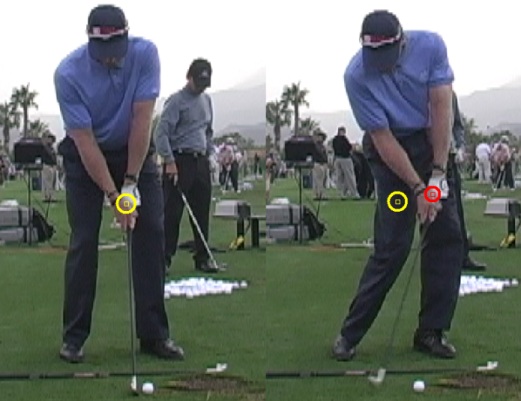
Note Grant Waite's hand and wrist positions at impact vs. setup. At impact
his hands
are ahead of the clubhead,
and they are hitting down into the back of the ball
At the follow through position,
- The toe of the club points just short of straight up, the face of the club is actually
parallel to the forward inclination angle of the upper body.
- Your body releases to about 3 o'clock with your extended arms are still in front of your body.
- The head is also releasing right after impact. Do not try to "keep your head down" after impact, allow it to
rotate (not lift up) to complete your swinging motion.
- Your side tilt should be maintained into your abbreviated 3/4 follow through.
- The club may or may not be fully
released depending on what the student is working on,
- and the arms are
still in front of the chest.
- If you tendency is to "fight" the release or if you have a reverse release or blocking tendency, a full roll
release is
practiced during this drill. With a full roll release, the
toe of the club at the finish may actually point more upward or even slightly to the left in order
to obtain a full release motion through impact. I usually prefer that my students get the club to the toe up
or toe left position.
- If you normally normally releases well, practice a more a neutral release feeling.
If you have trouble with your arms buckling in this abbreviated follow through, an exercise band may
be used to promote the feel of extension. This drill may also be modified to simulate a short pitch shot,
including some hinging
in the backswing and follow through, but master it without hinging before you add it.
Note that it's imperative to have full extension in the early follow through position.
|
| | | |
| |
| |
| | |